Kurulum için öncelikle sistemin güncel olmasını sağlıyoruz;
sudo apt update && apt upgrade -y
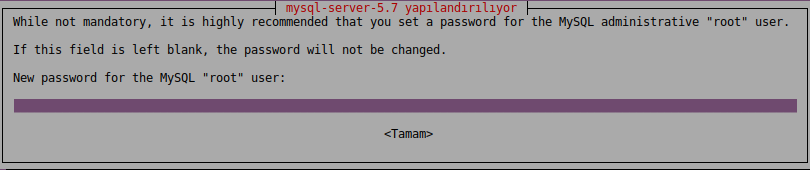
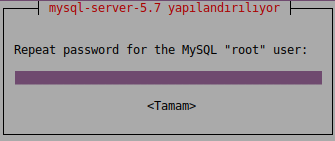
Daha sonra apache2 ve mysql ile ilgili gerekli tüm paketleri içeren lamp-server paketini kuruyoruz;
sudo apt install lamp-server^ -y
kurulum esnasında veritabanı şifresi isteyecektir;
daha sonra Nextcloud‘un ihtiyaç duyduğu diğer paketler kurulur;
apt install libapache2-mod-php7.0 php7.0-mbstring php7.0-curl php7.0-zip php7.0-gd php7.0-mysql php7.0-mcrypt php-xml -y
Paket kurulumundan sonra Nextcloud‘u sunacağımız dizine gidiyoruz;
cd /var/www/html/
Nextcloud sürümü olarak https://download.nextcloud.com/server/releases/ adresinden bir sürüm seçebilirsiniz. Aşağıdaki komut ile nextcloud-12.0.0.zip paketini sürümünü indiriyoruz;
wget https://download.nextcloud.com/server/releases/nextcloud-12.0.0.zip && unzip nextcloud-12.0.0.zip
rm index.html
arşivden çıkarılan dizinin yetkilerini düzenliyoruz;
sudo chown -R www-data:www-data nextcloud

mysql_secure_installation
komut sonrası veritabanı şifresi girilerek aşağıdaki cevaplar verilmelidir;
    Securing the MySQL server deployment.

    Enter password for user root:


    VALIDATE PASSWORD PLUGIN can be used to test passwords
    and improve security. It checks the strength of password
    and allows the users to set only those passwords which are
    secure enough. Would you like to setup VALIDATE PASSWORD plugin?

    Press y|Y for Yes, any other key for No: n

    Using existing password for root.
    Change the password for root ? ((Press y|Y for Yes, any other key for No) : n

     ... skipping.
    By default, a MySQL installation has an anonymous user,
    allowing anyone to log into MySQL without having to have
    a user account created for them. This is intended only for
    testing, and to make the installation go a bit smoother.
    You should remove them before moving into a production
    environment.

    Remove anonymous users? (Press y|Y for Yes, any other key for No) : y

    Normally, root should only be allowed to connect from
    'localhost'. This ensures that someone cannot guess at
    the root password from the network.

    Disallow root login remotely? (Press y|Y for Yes, any other key for No) : y
    Success.

    By default, MySQL comes with a database named 'test' that
    anyone can access. This is also intended only for testing,
    and should be removed before moving into a production
    environment.


    Remove test database and access to it? (Press y|Y for Yes, any other key for No) : y
    - Dropping test database...
    Success.

     - Removing privileges on test database...
    Success.

    Reloading the privilege tables will ensure that all changes
    made so far will take effect immediately.

    Reload privilege tables now? (Press y|Y for Yes, any other key for No) : y
    Success.

    All done!
Mysql’e bağlanarak bir veritabanı oluşturuyoruz;
mysql -uroot -p

    CREATE DATABASE nextcloud;
    GRANT ALL PRIVILEGES ON nextcloud.* TO 'nextcloud'@'localhost' IDENTIFIED BY 'anand';
    FLUSH PRIVILEGES;
    exit;


pico /etc/mysql/my.cnf

    log-bin = /var/log/mysql/mariadb-bin
    log-bin-index   = /var/log/mysql/mariadb-bin.index
    binlog_format   = mixed


a2enmod rewrite

    Enabling module rewrite.
    To activate the new configuration, you need to run:
      service apache2 restart

service apache2 restart

pico /etc/apache2/sites-available/nextcloud.conf
nextcloud.conf dosya içeriğini aşağıdaki şekilde oluşturuyoruz;
   <VirtualHost *:80>
    ServerAdmin admin@pardus
    DocumentRoot "/var/www/html/nextcloud/"
    ServerName <ip_adress>

    ServerAlias nextcloud

    <Directory "/var/www/html/nextcloud/">
      Options +FollowSymlinks
      AllowOverride All
      Order allow,deny
      allow from all
    </Directory>
    ErrorLog /var/log/apache2/102-error_log
    </VirtualHost>

ln -s /etc/apache2/sites-available/nextcloud.conf /etc/apache2/sites-enabled/

pico /etc/apache2/sites-available/nextcloud.conf

service apache2 restart
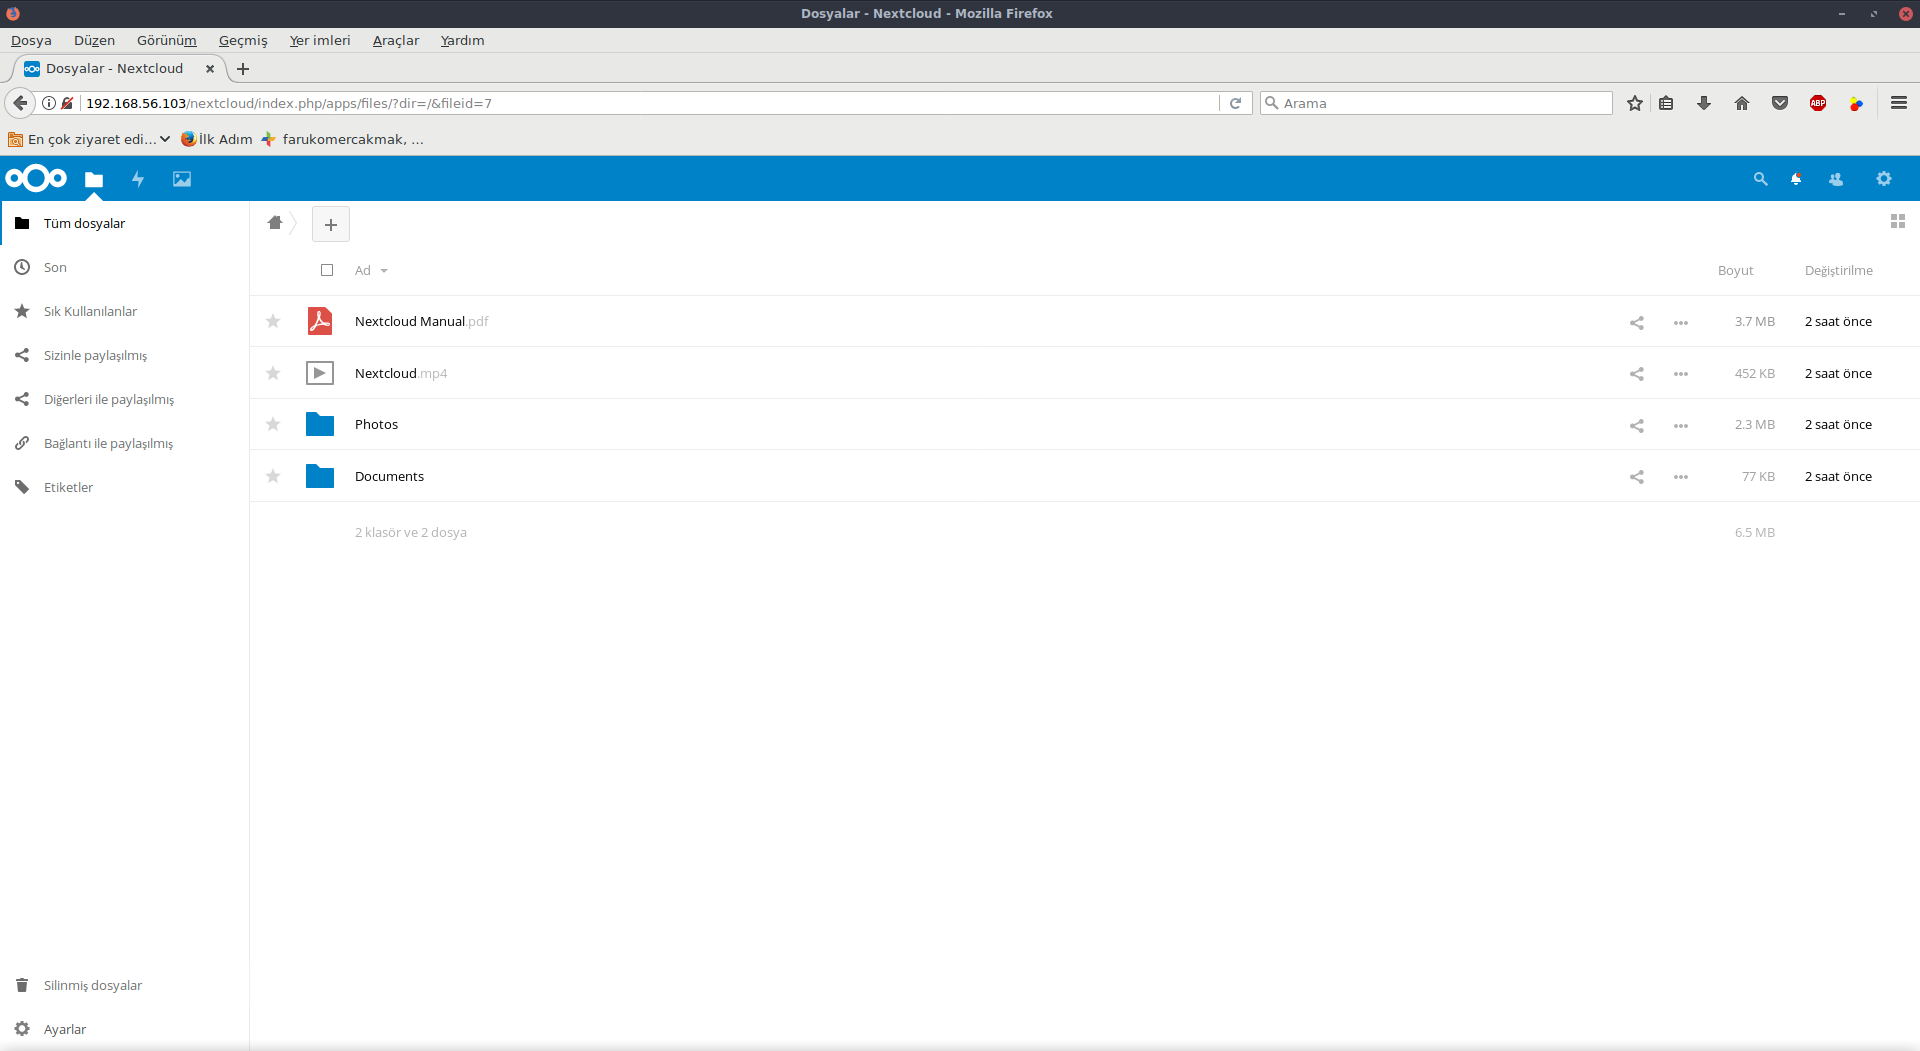
Bu işlemlerden sonra tarayıcıya;
http://192.168.56.103/nextcloud/index.php
şeklinde yazıyoruz;
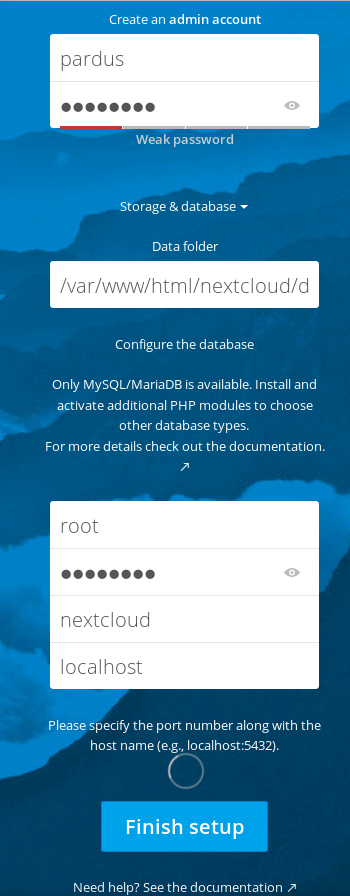
ekrandaki istenen verileri girerek kurulumu tamamlıyoruz.
Kurulum sonrası dil ingilizce olarak gelmekte, bunun için oturum açıldıktan sonra ekranın sağ üst köşesindeki  simge tıklanarak;
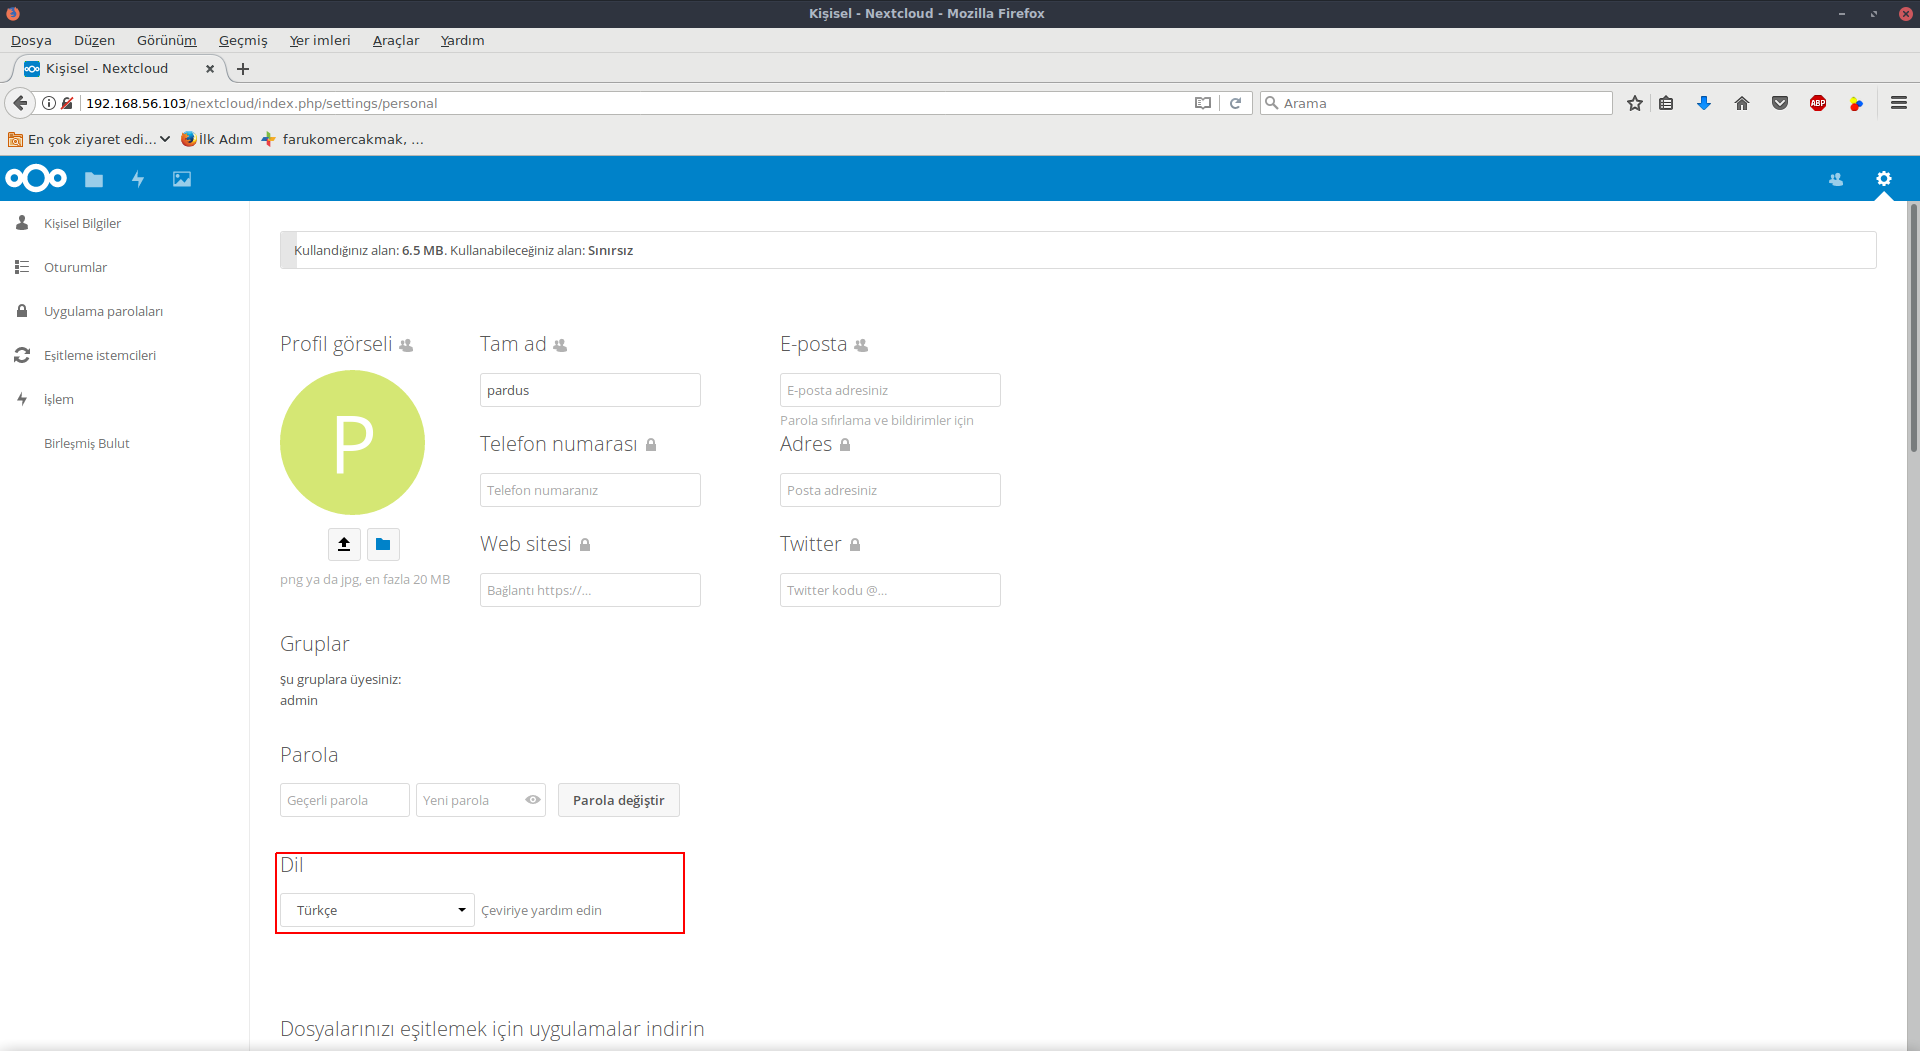
dil Türkçe‘ye çevrilebilir.
Kurulum esnasında değişen bir bilgi varsa aşağıdaki dosyada değişiklik yapılabilir;
pico /var/www/html/nextcloud/config/config.php

    <?php
    $CONFIG = array (
      'instanceid' => 'ocyc2henl36n',
      'passwordsalt' => 'TPrgnjU1sgLCHW82kNhpVDvNOUZP1B',
      'secret' => 'M9liBDfZFs8NmwcJGzIx03BhTd36nCTpSHMD7FAkZsOo8pAi',
      'trusted_domains' =>
      array (
        0 => '192.168.56.102',
      ),
      'datadirectory' => '/var/www/html/nextcloud/data',
      'overwrite.cli.url' => 'http://192.168.56.102',
      'dbtype' => 'mysql',
      'version' => '12.0.0.29',
      'dbname' => 'nextcloud',
      'dbhost' => 'localhost',
      'dbport' => '',
      'dbtableprefix' => 'oc_',
      'mysql.utf8mb4' => true,
      'dbuser' => 'oc_pardus',
      'dbpassword' => 'WuNIgrpRyQ1fDeXXu1tQT0jwj2y+0G',
      'installed' => true,
    );
ve değişiklikler sonrasında apache2 servisi yeniden başlatılır.
/etc/init.d/apache2 restart